The Equilibrium Dungeon Guide in Destiny 2: Renegades
The Equilibrium Dungeon, the premier endgame activity in Destiny 2: Renegades, challenges Guardians to overcome long odds and face the rising threat of a new set of Dredgens. While completing it isn’t quite as involved as tackling a raid, don’t expect it to be easy.
In this guide, we cover everything you need to know to successfully complete the Equilibrium Dungeon. Note: This guide is actively updated as new information about the encounters is discovered.
Overview of the Equilibrium Dungeon
The Equilibrium Dungeon takes place across three encounters and heavily revolves around a mechanic called Gathering Shadow. You earn Gathering Shadow by entering pools of Darkness energy scattered throughout each encounter area. How you utilize the buffs Gathering Shadow provides increases in complexity as you progress through the dungeon.
Getting Started: Clearing the Temple Grounds
After loading into Equilibrium for the first time, your initial objective is to clear the Temple Grounds. This is a straightforward section focused on defeating enemy adds within the starting zone.
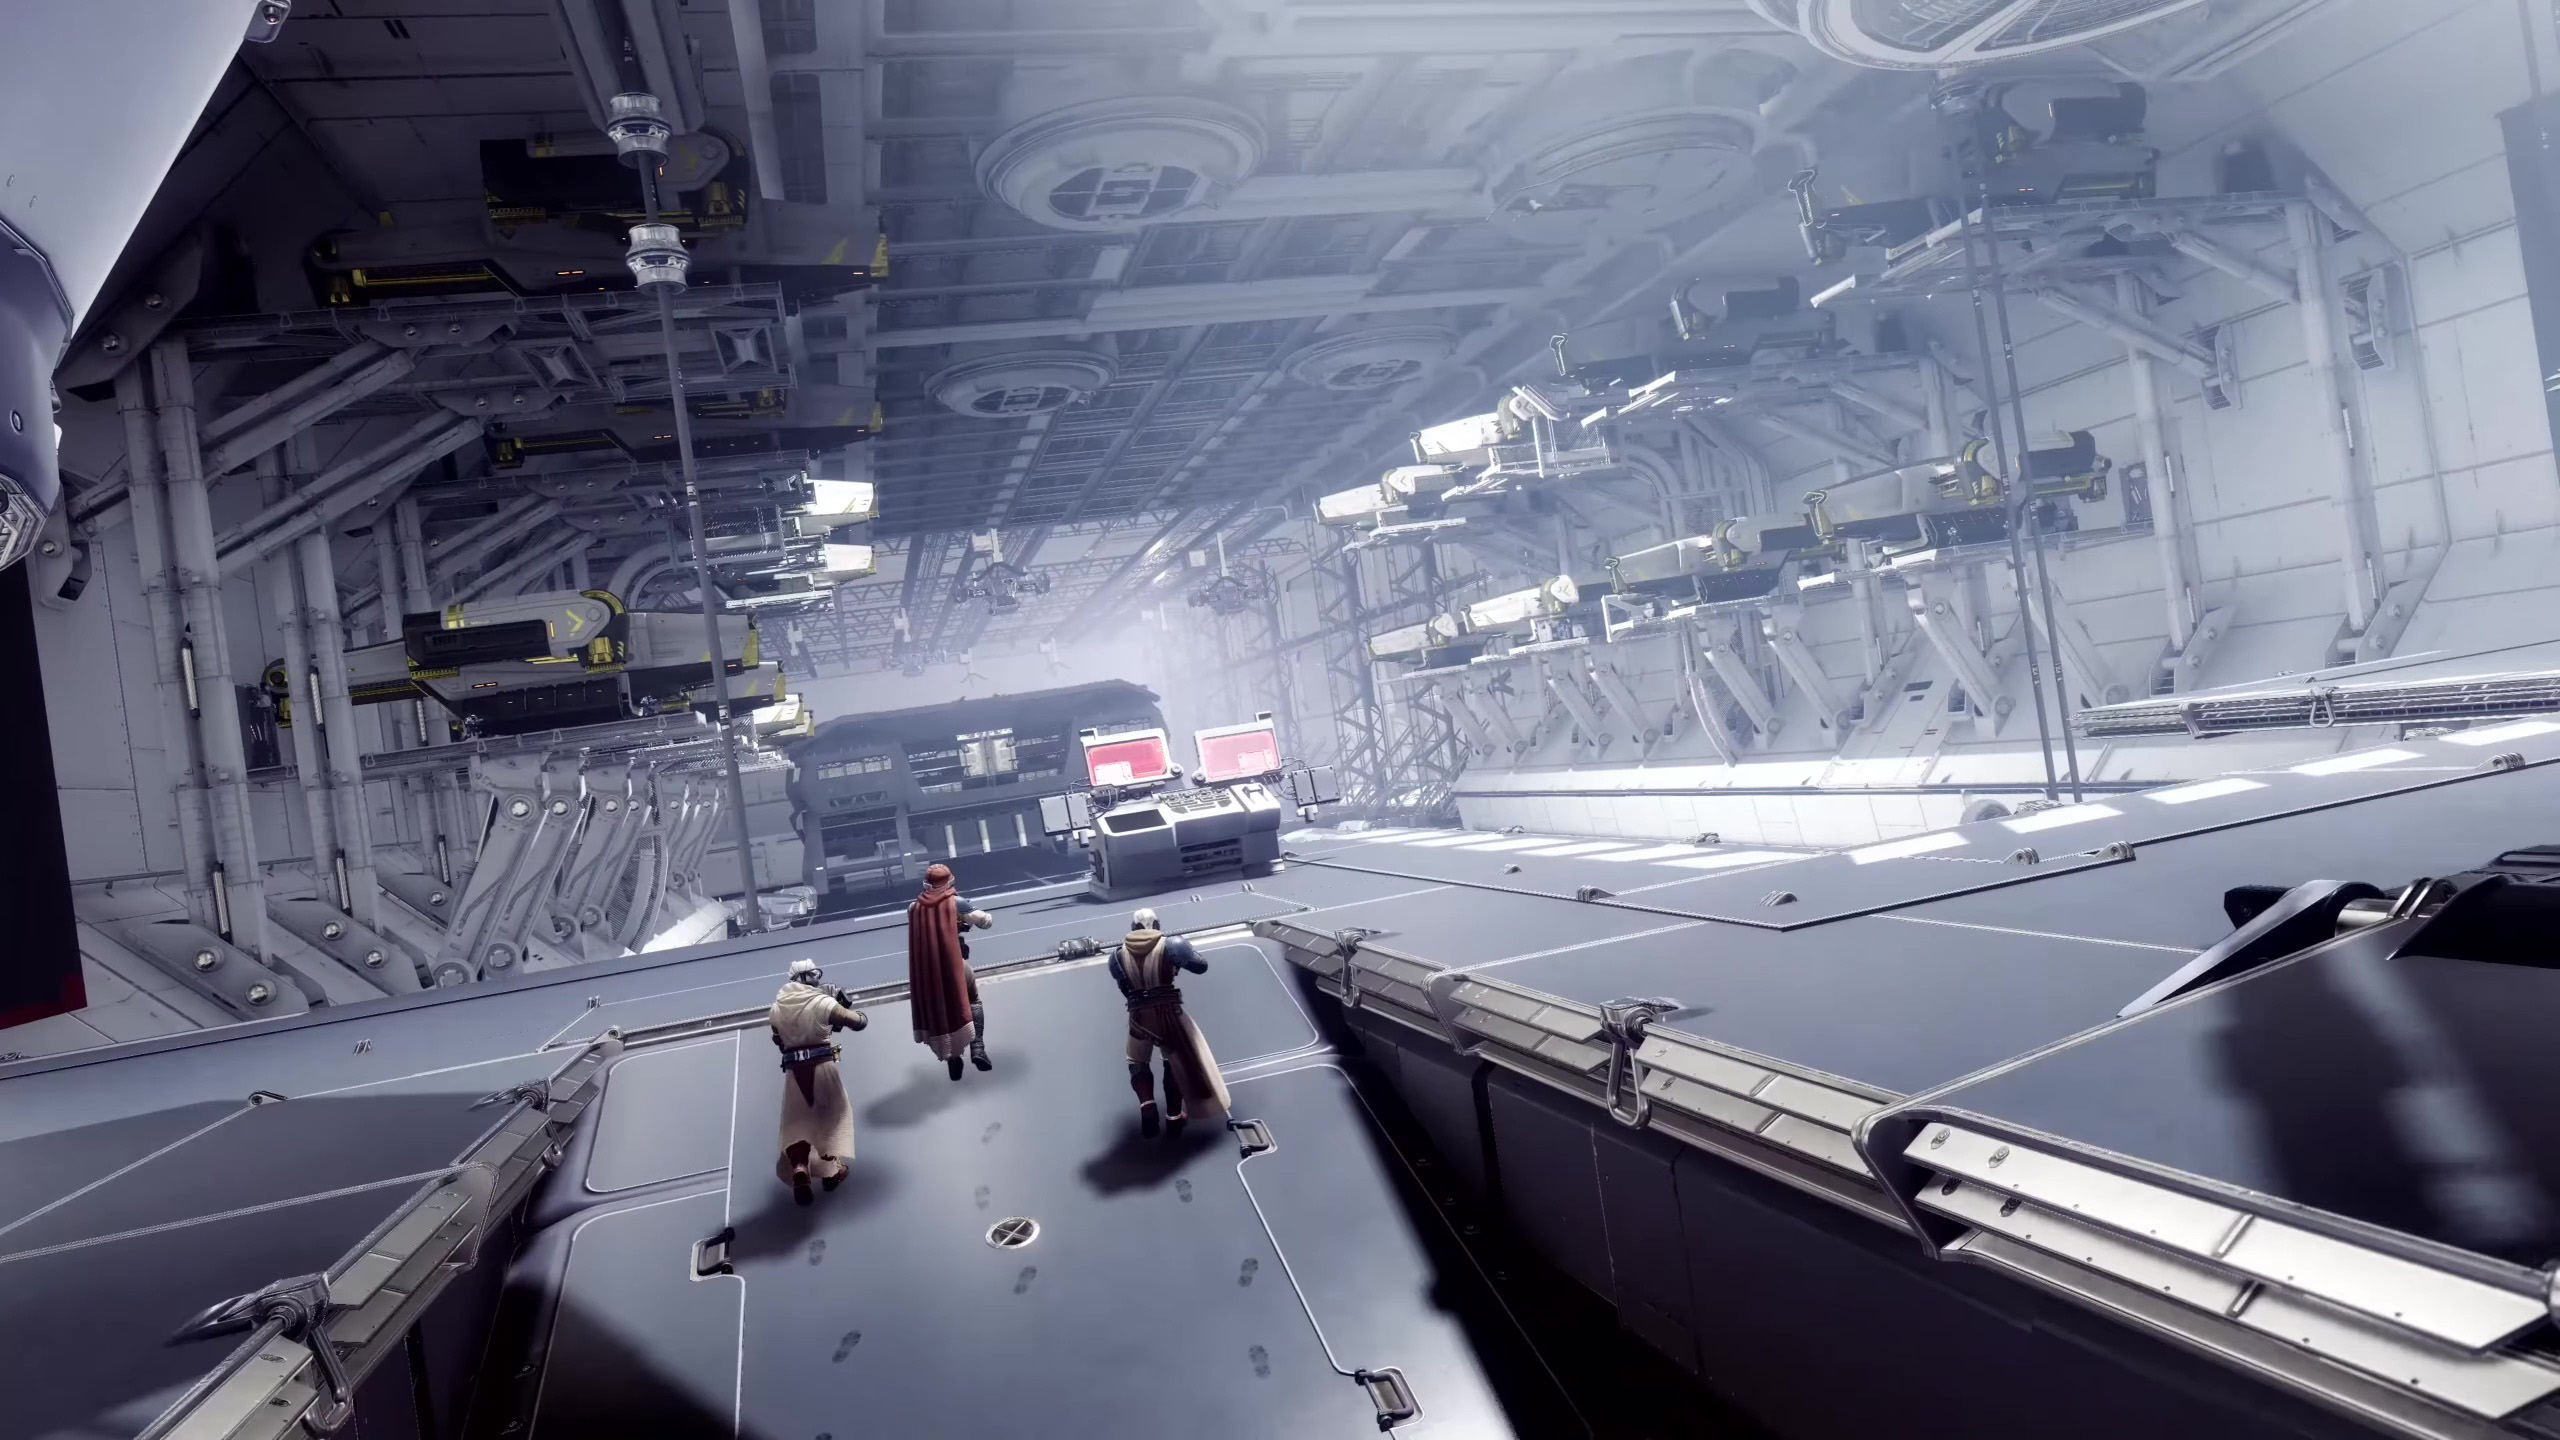
Once the Temple Grounds are clear, you will advance to the first arena where a jump ship is docked — here, the first significant test of the dungeon begins.
How to Defeat the Barant Imperium Forces
The first major encounter is essentially an add-clear race. To start it, interact with the ship docked in the arena, which will summon waves of enemies.
Among the enemies, three notable foes called Nameless Apprentices will spawn. Each has an immunity shield that you must break in order to defeat them.
Encounter Breakdown:
- Three Nameless Apprentices spawn, each protected by an immune shield.
- Bring one Apprentice to the Cabal device located near a red barrier shield.
- Activate the device when the nearby Apprentice begins charging Darkness energy. Successfully doing this will drop the barrier.
- Players should immediately mount the three Sparrows stationed nearby and navigate the tunnels beyond the now-open barrier, collecting Gathering Shadow energy along the way.
- Be warned: You cannot stay inside the tunnels indefinitely, as the Creeping Shadows debuff will eventually kill you.
- Once a player accumulates enough Gathering Shadow energy, they will earn the Shadow Apprentice buff. This buff allows the player to swap their standard grenade for a special Shadow attack.
- When the Shadow Apprentice approaches the Nameless Apprentices, these enemies will summon Darkness energy. At this moment, the Shadow Apprentice can use their special grenade to dispel the shield.
- With the shield down, the team can effectively defeat the Apprentice.
- Each time a Nameless Apprentice is defeated, a Cabal drop pod arrives, bringing additional enemies along with a yellow-bar Goliath walker.
- You need to defeat a total of six Nameless Apprentices, along with all remaining enemies, to clear this encounter and unlock the loot chest.
Stay tuned as we continue to update this guide with new discoveries and strategies for completing the Equilibrium Dungeon.
https://www.shacknews.com/article/147168/how-to-complete-the-equilibrium-dungeon-in-destiny-2


